Getting started to Consul
Consul is developed by Hashicorp to provide a few features like a service discovery.
This document is to learn a little bit about setting up Consul to understand it as a first step, but not for production purpose.
So far, this includes
- To set up consul agents
- To use a consul client to access the agent
- Look up a web server from the consul datacenter
The first step for consul servers
In the first step, I refer to next page.
At first, use Docker Compose to set up a few consul servers.
The docker-compose.yml looks like next.
version: '3.3'

services:
  consul-server1:
    image: consul
    hostname: "consul-server1"
    networks:
      - cluster
    ports:
      - 8500:8500
    volumes:
      - ./server.json:/consul/config/server.json:ro
    command:
      - "agent"
      - "--retry-join"
      - "consul-server2"

  consul-server2:
    image: consul
    hostname: "consul-server2"
    networks:
      - cluster
    volumes:
      - ./server.json:/consul/config/server.json:ro
    command:
      - "agent"
      - "--retry-join"
      - "consul-server2"

networks:
  cluster:
The server.json which is mounted to two containers are something like this.
{
"server": true,
"bootstrap_expect": 2,
"ui_config": {
"enabled": true
},
"client_addr": "0.0.0.0"
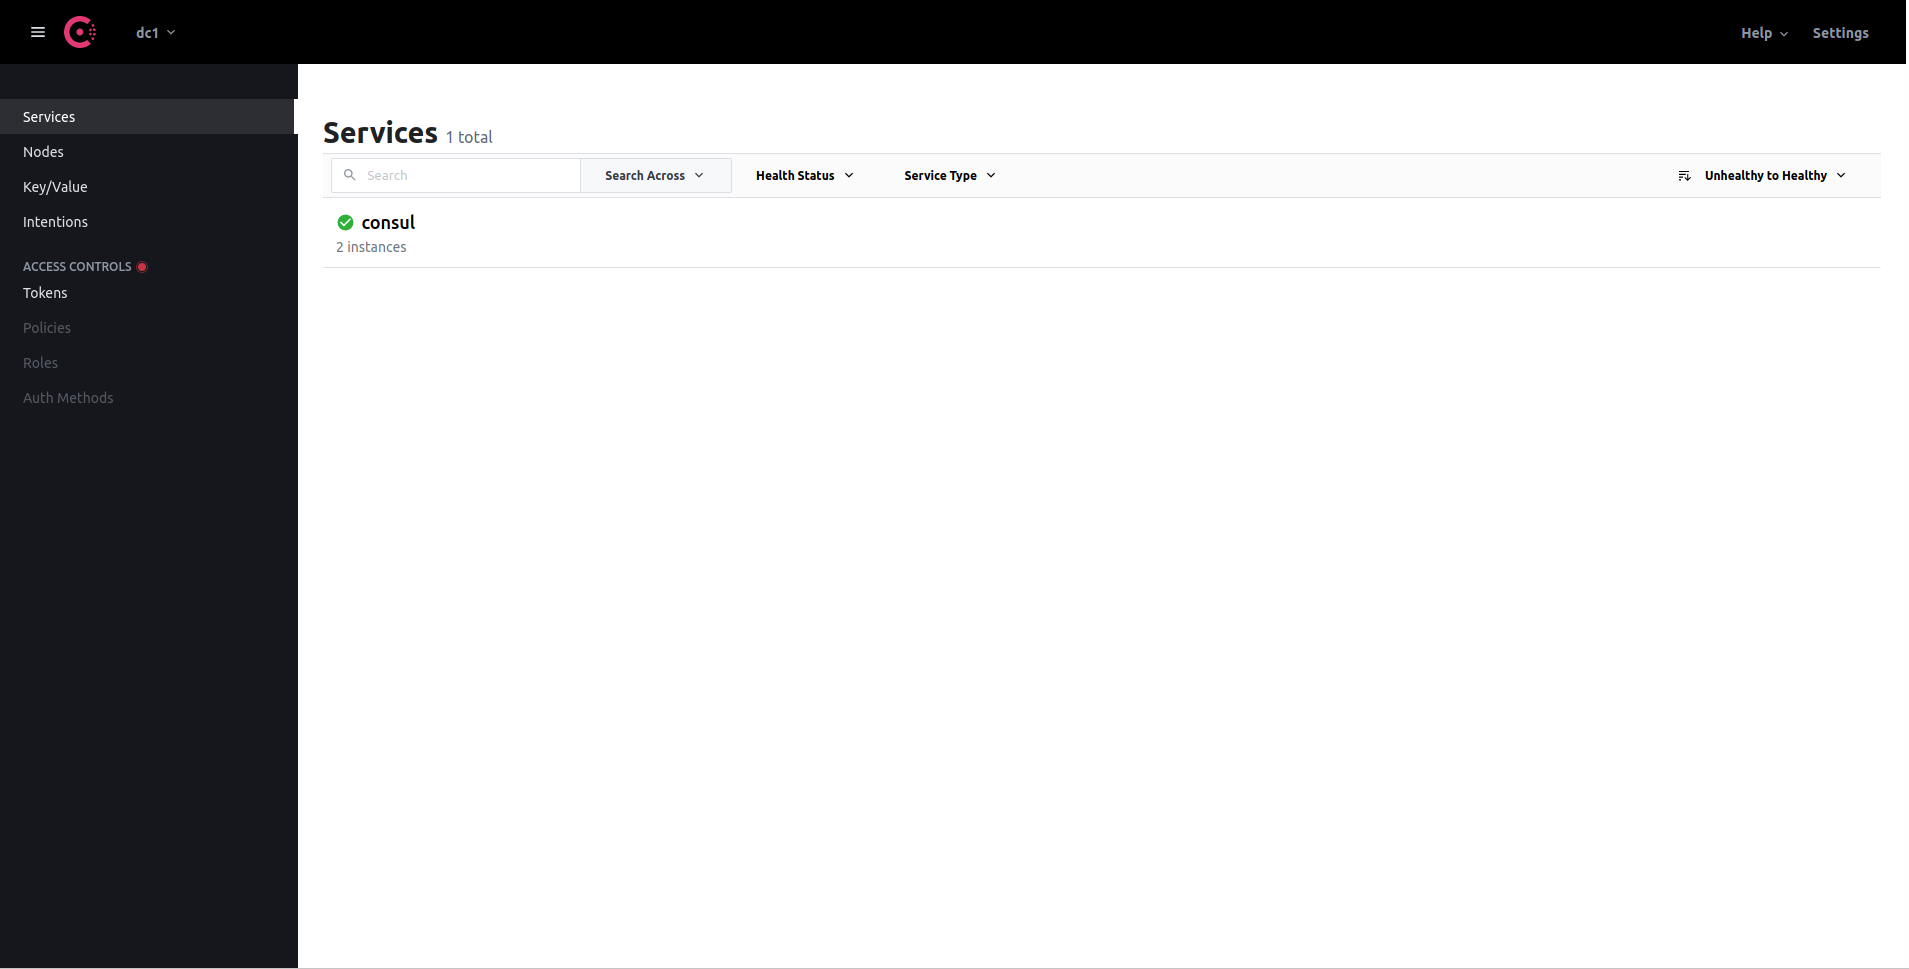
}Then, after containers started, the Web UI can be seen on the http://127.0.0.1/8500.
Add a consul-client container
Add a consul-client container into the 1st docker-compose.yml
version: '3.3'

services:
  consul-server1:
    image: consul
    hostname: "consul-server1"
    networks:
      - cluster
    ports:
      - 8500:8500
    volumes:
      - ./server.json:/consul/config/server.json:ro
    command:
      - "agent"
      - "--retry-join"
      - "consul-server2"

  consul-server2:
    image: consul
    hostname: "consul-server2"
    networks:
      - cluster
    volumes:
      - ./server.json:/consul/config/server.json:ro
    command:
      - "agent"
      - "--retry-join"
      - "consul-server2"

  consul-client:
    image: consul
    hostname: "consul-client"
    networks:
      - cluster
    command:
      - "agent"
      - "--retry-join"
      - "consul-server1"
      - "--retry-join"
      - "consul-server2"

networks:
  cluster:
Once it starts, we can use consul client with new container.
> docker exec consul_consul-client_1 consul members
Node            Address          Status  Type    Build   Protocol  DC   Segment
consul-server1  172.29.0.3:8301  alive   server  1.10.3  2         dc1  <all>
consul-server2  172.29.0.4:8301  alive   server  1.10.3  2         dc1  <all>
consul-client   172.29.0.2:8301  alive   client  1.10.3  2         dc1  <default>
Service discovery
I followed these documents.
- [HashiCorp Learn: Register a Service with Consul Service Discovery]https://learn.hashicorp.com/tutorials/consul/get-started-service-discovery)
- HashiCorp Learn: Register External Services with Consul Service Discovery
First of all, in the context of Consul, there are 2 types of services.
- Internal service: runs on the same node (machine) as a Consul agent
- External service: runs on nodes where you cannot run a local Consul agent
In this tutorial, run a web service as an external service, which means without a consul agent on the server.
Register an external service
At first, add a web service definition in docker-compose.yml file.
version: '3.3'

services:
  consul-server1:
    image: consul
    hostname: "consul-server1"
    networks:
      - cluster
    ports:
      - 8500:8500
      - 8600:8600
    volumes:
      - ./server.json:/consul/config/server.json:ro
    command:
      - "agent"
      - "--retry-join"
      - "consul-server2"

  consul-server2:
    image: consul
    hostname: "consul-server2"
    networks:
      - cluster
    volumes:
      - ./server.json:/consul/config/server.json:ro
    command:
      - "agent"
      - "--retry-join"
      - "consul-server2"

  consul-client:
    image: consul
    hostname: "consul-client"
    networks:
      - cluster
    command:
      - "agent"
      - "--retry-join"
      - "consul-server1"
      - "--retry-join"
      - "consul-server2"

  web:
    image: nginx
    ports:
      - 8080:80
    networks:
      - cluster

networks:
  cluster:
Then define the web service as the Consul external service by next JSON file web.json.
{
  "Node": "web",
  "Address": "web",
  "NodeMeta": {
    "external-node": "true",
    "external-probe": "true"
  },
  "Service": {
    "ID": "web",
    "Service": "web",
    "Port": 80
  },
  "Checks": [
    {
      "Name": "http-check",
      "status": "passing",
      "Definition": {
        "http": "http://web/",
        "interval": "10s"
      }
    }
  ]
}
With this service definition file, the service can be registered by HTTP API.
In order to register it and also look up DNS later, add 2 service definitions in docker-compose.yml, curl and dnsutils.
version: '3.3'

services:
  consul-server1:
    image: consul
    hostname: "consul-server1"
    networks:
      - cluster
    ports:
      - 8500:8500
      - 8600:8600
    volumes:
      - ./server.json:/consul/config/server.json:ro
    command:
      - "agent"
      - "--retry-join"
      - "consul-server2"

  consul-server2:
    image: consul
    hostname: "consul-server2"
    networks:
      - cluster
    volumes:
      - ./server.json:/consul/config/server.json:ro
    command:
      - "agent"
      - "--retry-join"
      - "consul-server2"

  consul-client:
    image: consul
    hostname: "consul-client"
    networks:
      - cluster
    command:
      - "agent"
      - "--retry-join"
      - "consul-server1"
      - "--retry-join"
      - "consul-server2"

  web:
    image: nginx
    ports:
      - 8080:80
    networks:
      - cluster

  curl:
    image: curlimages/curl
    networks:
      - cluster
    volumes:
      - ./web.json:/web.json
    command:
      - "-XPUT"
      - "--data"
      - "@/web.json"
      - "http://consul-server1:8500/v1/catalog/register"
    depends_on:
      - consul-server1
      - consul-server2

  dnsutils:
    image: tutum/dnsutils
    networks:
      - cluster
    command:
      - "dig"
      - "@consul-server1"
      - "-p"
      - "8600"
      - "consul.service.consul"

networks:
  cluster:
Then when you start containers, you can see new service web separeted from consul on the UI.
By a CLI, you can also see a web service.
> docker exec consul_consul-client_1 consul catalog services
consul
web
> docker exec consul_consul-client_1 consul catalog nodes
Node            ID        Address        DC
consul-client   6ae54162  192.168.176.5  dc1
consul-server1  e1cfae12  192.168.176.6  dc1
consul-server2  33535a6e  192.168.176.4  dc1
web                       web            dc1
Look up DNS of the external service
In Consul, the DNS of a service is registered as NAME.service.consul according to this tutorial.
It looks CNAME is registered for an external service in Consul.
> docker run -it --net=consul_cluster tutum/dnsutils dig @consul-server1 -p 8600 web.service.consul

; <<>> DiG 9.9.5-3ubuntu0.2-Ubuntu <<>> @consul-server1 -p 8600 web.service.consul
; (1 server found)
;; global options: +cmd
;; Got answer:
;; ->>HEADER<<- opcode: QUERY, status: NOERROR, id: 32415
;; flags: qr aa rd; QUERY: 1, ANSWER: 1, AUTHORITY: 0, ADDITIONAL: 1
;; WARNING: recursion requested but not available

;; OPT PSEUDOSECTION:
; EDNS: version: 0, flags:; udp: 4096
;; QUESTION SECTION:
;web.service.consul.		IN	A

;; ANSWER SECTION:
web.service.consul.	0	IN	CNAME	web.

;; Query time: 0 msec
;; SERVER: 192.168.176.6#8600(192.168.176.6)
;; WHEN: Sun Nov 07 02:20:23 UTC 2021
;; MSG SIZE  rcvd: 64
Troubleshootings
Outside of consul-server container, it’s not possible to look up DNS records for some reasons.
> docker run -it --net=consul_cluster tutum/dnsutils dig @consul-server1 -p 8600 web.service.consul

; <<>> DiG 9.16.8-Ubuntu <<>> @127.0.0.1 -p 8600 web.service.consul
; (1 server found)
;; global options: +cmd
;; connection timed out; no servers could be reached
Solution: I changed next configuration in server.json with client_addr: "0.0.0.0".
  "addresses": {
      "http": "0.0.0.0"
  }
This can also be solved by adding “addresses.dns = “0.0.0.0”.